As modern JavaScript applications grow in size and complexity, so does the need for an efficient way to manage, bundle, and optimize code. In a typical project, developers work with multiple files—JavaScript modules, stylesheets, fonts, images, and sometimes even compiled assets like TypeScript or Sass. Manually managing these assets becomes impractical and error-prone over time.
Webpack addresses this challenge by automating the bundling process. It is a powerful and widely used module bundler that helps developers compile and bundle their JavaScript applications along with related assets, preparing them for deployment in production environments.
This beginner’s guide aims to break down the key concepts of Webpack, how it works under the hood, why it is useful, and how to get started from scratch.
What is Webpack?
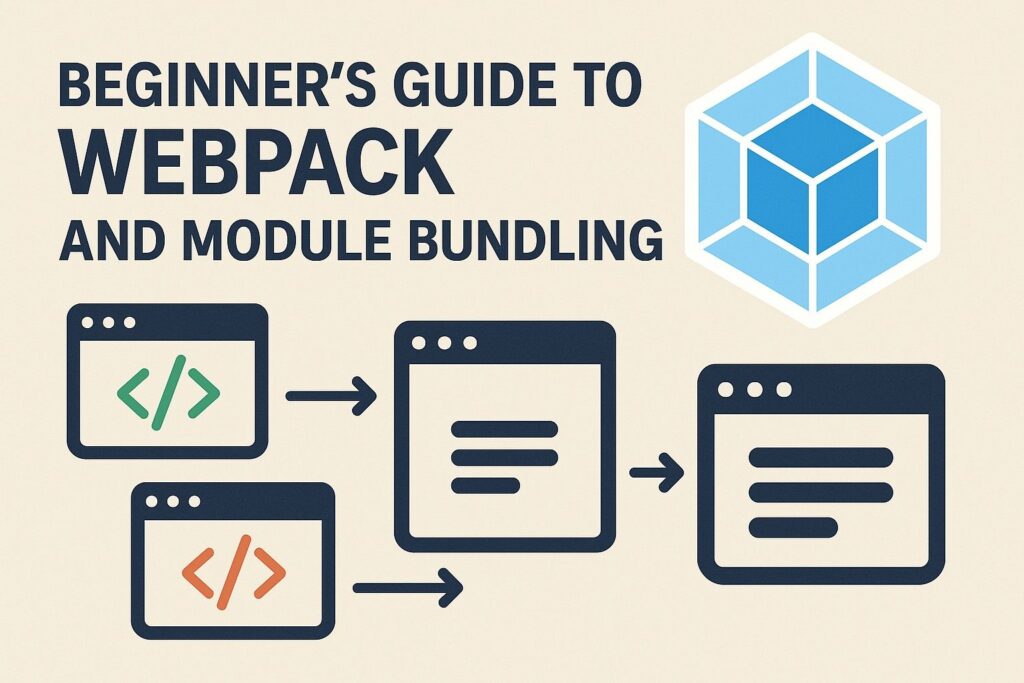
Webpack is an open-source tool that takes in all your application’s modules, analyzes their dependencies, and then generates optimized bundles that can be easily delivered to users’ browsers.
It can handle not only JavaScript files but also assets like images, fonts, CSS, and even HTML. Webpack introduces the concept of dependency graphs where each module or file required by your project becomes a node in a graph. It starts from one or more entry points and recursively builds a graph of every module your application needs.
In addition to bundling, Webpack supports advanced features such as tree shaking (removing unused code), lazy loading, code splitting, and hot module replacement, making it an indispensable tool in modern web development.
Why Use Webpack?
While it’s possible to build a simple JavaScript project without a bundler, as applications scale, bundlers become essential for maintaining performance, structure, and scalability.
Here are some reasons why developers use Webpack:
1. Modular Development
Webpack encourages writing modular code using the ES6 module system (import/export). Each feature or component can be organized in its own file and then combined through a build process.
2. Code Splitting
Webpack supports splitting your codebase into multiple bundles. You can load only the necessary code for a specific part of your application, reducing initial load time.
3. Asset Management
You can import and manage static assets like CSS, images, fonts, and SVGs directly within JavaScript files using appropriate loaders.
4. Performance Optimization
Webpack optimizes your bundles through minification, compression, tree shaking, and caching techniques, improving runtime performance and reducing bundle size.
5. Developer Experience
With features like Hot Module Replacement (HMR), Webpack enables real-time updates during development without requiring a full page refresh.
6. Plugin Ecosystem
A large collection of plugins extends Webpack’s core functionality, enabling tasks like HTML file generation, bundle analysis, automatic cleaning of output directories, and more.
Core Concepts of Webpack
To effectively use Webpack, it is important to understand some fundamental building blocks:
Entry
Defines the starting point(s) of your application. Webpack starts building its dependency graph from this file.
entry: './src/index.js',
You can define multiple entry points for different sections of your application.
Output
Specifies where the final bundled files should be saved and how they should be named.
output: {
  filename: 'bundle.js',
  path: path.resolve(__dirname, 'dist'),
}
Loaders
Webpack only understands JavaScript and JSON files by default. Loaders transform other types of files (like CSS, images, or TypeScript) into modules that Webpack can process.
Example: Using css-loader and style-loader to include CSS files:
module: {
  rules: [
    {
      test: /\.css$/,
      use: ['style-loader', 'css-loader']
    }
  ]
}
Plugins
Plugins allow you to tap into Webpack’s lifecycle and extend its capabilities. For example, the HtmlWebpackPlugin generates an HTML file with injected script tags referencing the bundled JavaScript.
const HtmlWebpackPlugin = require('html-webpack-plugin');

plugins: [
  new HtmlWebpackPlugin({
    template: './src/index.html'
  })
]
Mode
Webpack can run in different modes: development, production, or none. The mode determines default optimizations applied to your build.
mode: 'development'
In production mode, Webpack automatically enables optimizations such as code minification and dead code elimination.
Step-by-Step Guide: Setting Up Webpack
Step 1: Initialize Your Project
mkdir webpack-demo
cd webpack-demo
npm init -y
This creates a package.json file that keeps track of your dependencies and scripts.
Step 2: Install Webpack
npm install webpack webpack-cli --save-dev
Webpack is installed as a development dependency because it is used during build time.
Step 3: Project Structure
Your project should look like this:
webpack-demo/
├── src/
│   └── index.js
├── dist/
│   └── index.html
├── webpack.config.js
└── package.json
Step 4: Create a Webpack Configuration
// webpack.config.js
const path = require('path');
const HtmlWebpackPlugin = require('html-webpack-plugin');

module.exports = {
  entry: './src/index.js',
  output: {
    filename: 'bundle.js',
    path: path.resolve(__dirname, 'dist'),
    clean: true,
  },
  mode: 'development',
  module: {
    rules: [
      {
        test: /\.css$/,
        use: ['style-loader', 'css-loader']
      }
    ]
  },
  plugins: [
    new HtmlWebpackPlugin({
      template: './src/index.html',
      filename: 'index.html'
    })
  ]
};
Step 5: Create HTML and JavaScript Files
index.html
<!DOCTYPE html>
<html>
  <head>
    <meta charset="utf-8">
    <title>Webpack Demo</title>
  </head>
  <body>
    <h1>Hello from Webpack</h1>
  </body>
</html>
index.js
import './style.css';
console.log("Hello Webpack!");
style.css
body {
  background-color: #f5f5f5;
  font-family: Arial, sans-serif;
}
Using Webpack CLI
To build the project, run:
npx webpack
Webpack will bundle your source files and output bundle.js in the dist folder.
Using Webpack Dev Server
For a better development experience, use the webpack-dev-server for live reloading:
npm install webpack-dev-server --save-dev
Add this to your webpack.config.js:
devServer: {
  static: './dist',
  port: 3000,
  open: true,
  hot: true
}
Update package.json scripts:
"scripts": {
  "start": "webpack serve",
  "build": "webpack"
}
Run the development server:
npm start
Advanced Webpack Features to Explore
Once you’re comfortable with the basics, here are some advanced features to consider:
- Tree Shaking: Remove unused code to reduce bundle size.
- Lazy Loading: Load code only when it’s needed using dynamic
import()statements. - Caching: Enable long-term caching by using content hashes in filenames.
- Source Maps: Improve debugging by mapping the compiled code back to the original source.
- Environment Variables: Define different variables for development and production using
DefinePlugin.
Final Thoughts
Webpack is a foundational tool in modern front-end development. It simplifies how assets are managed, enhances performance through optimization, and offers a modular approach to building applications. While its configuration can seem daunting at first, starting with the basics and learning incrementally will help you unlock its full potential.
By understanding how Webpack bundles code, handles dependencies, and transforms files, you can build more efficient, scalable, and maintainable web applications. Over time, as your projects grow, Webpack’s extensive features and plugin ecosystem will enable you to customize your build process for virtually any use case.

I’m Shreyash Mhashilkar, an IT professional who loves building user-friendly, scalable digital solutions. Outside of coding, I enjoy researching new places, learning about different cultures, and exploring how technology shapes the way we live and travel. I share my experiences and discoveries to help others explore new places, cultures, and ideas with curiosity and enthusiasm.